
Lint Dragon Dryer Vent cleaning truck parked in The Villages
Google 5 star rating

Dryer Vent Rerouting & Repair in The Villages & Surrounding Areas

We offer professional dryer vent repair and rerouting services to fix unsafe setups and improve performance from the inside out.

Why Dryer Vent Repairs Are Important

Dryer vents are often hidden behind walls, in attics, or through roofs. This means damage or poor design can go unnoticed. If your dryer is struggling, or your vent run looks questionable, it may be time for a professional evaluation.

Common issues we fix:
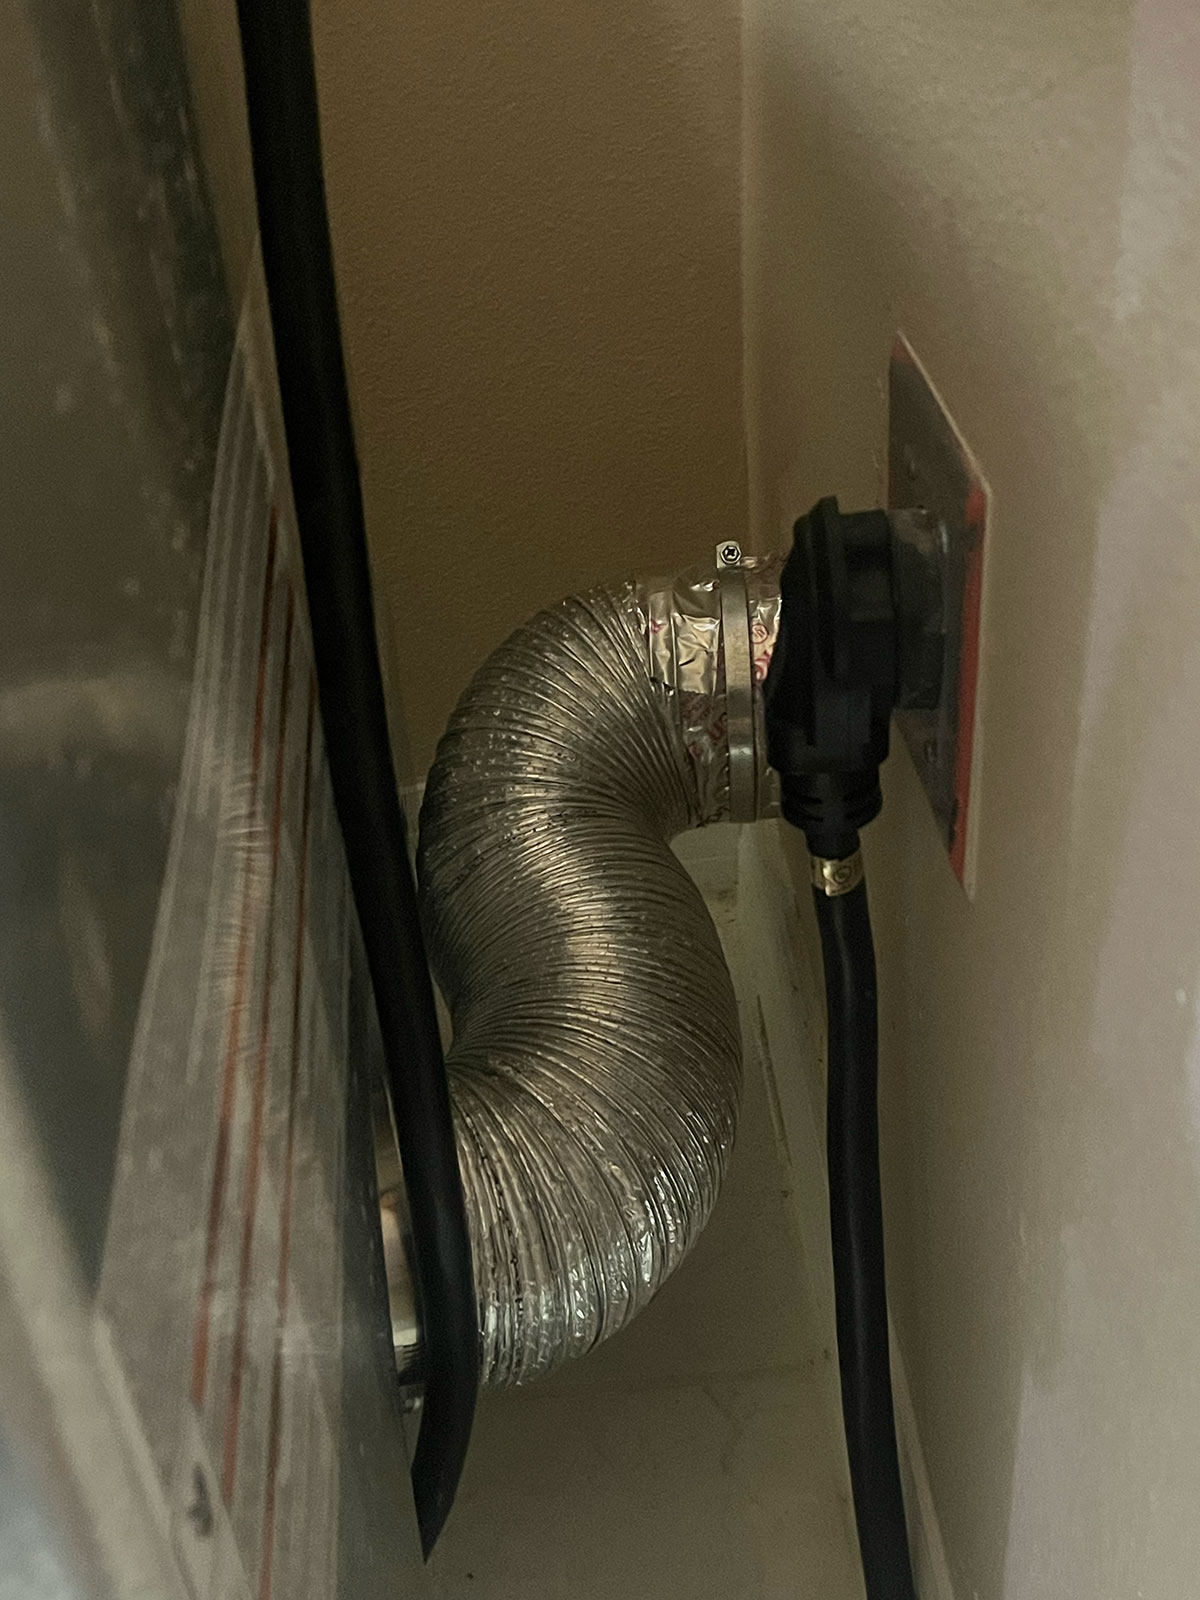
  • Crushed, disconnected, or leaking vent pipes
  • Loose or missing clamps
  • Excessively long or inefficient vent routes
  • Improper materials such as plastic ducting
  • Unsafe roof or wall vent terminations
Exterior wall vent installation for dryer vent rerouting in The Villages FL

When Rerouting Is Needed

Sometimes the safest option is to reroute the dryer vent entirely. This may be necessary if:
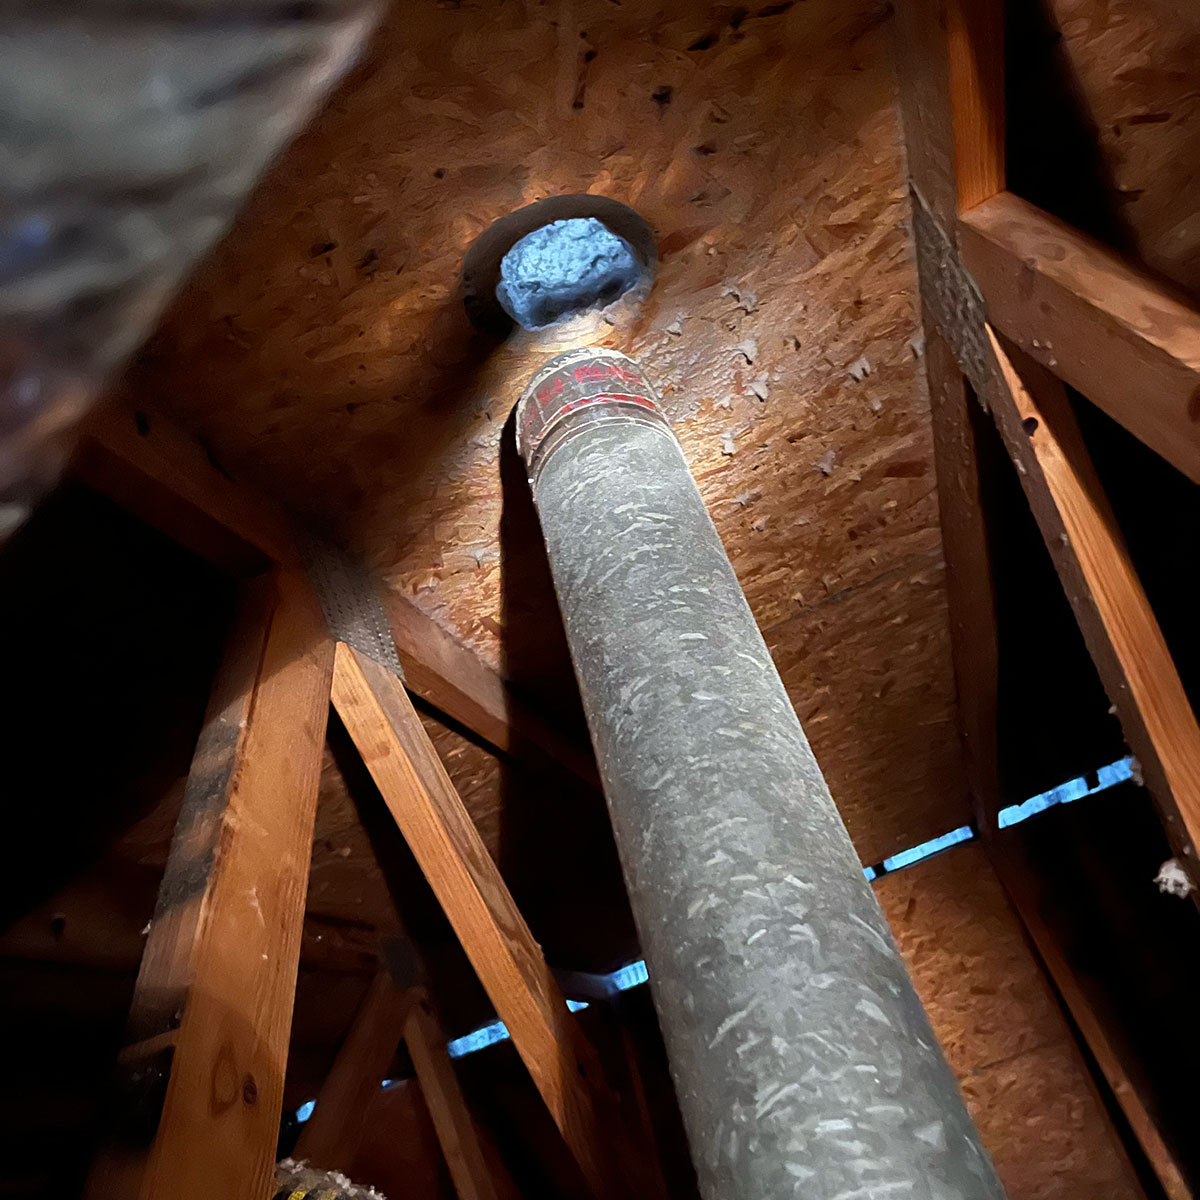
  • The existing vent path is too long or winding
  • The dryer was relocated during a remodel
  • The current setup is not up to code
  • There is no safe or effective way to clean the current line
  • You’re experiencing ongoing issues even after cleaning
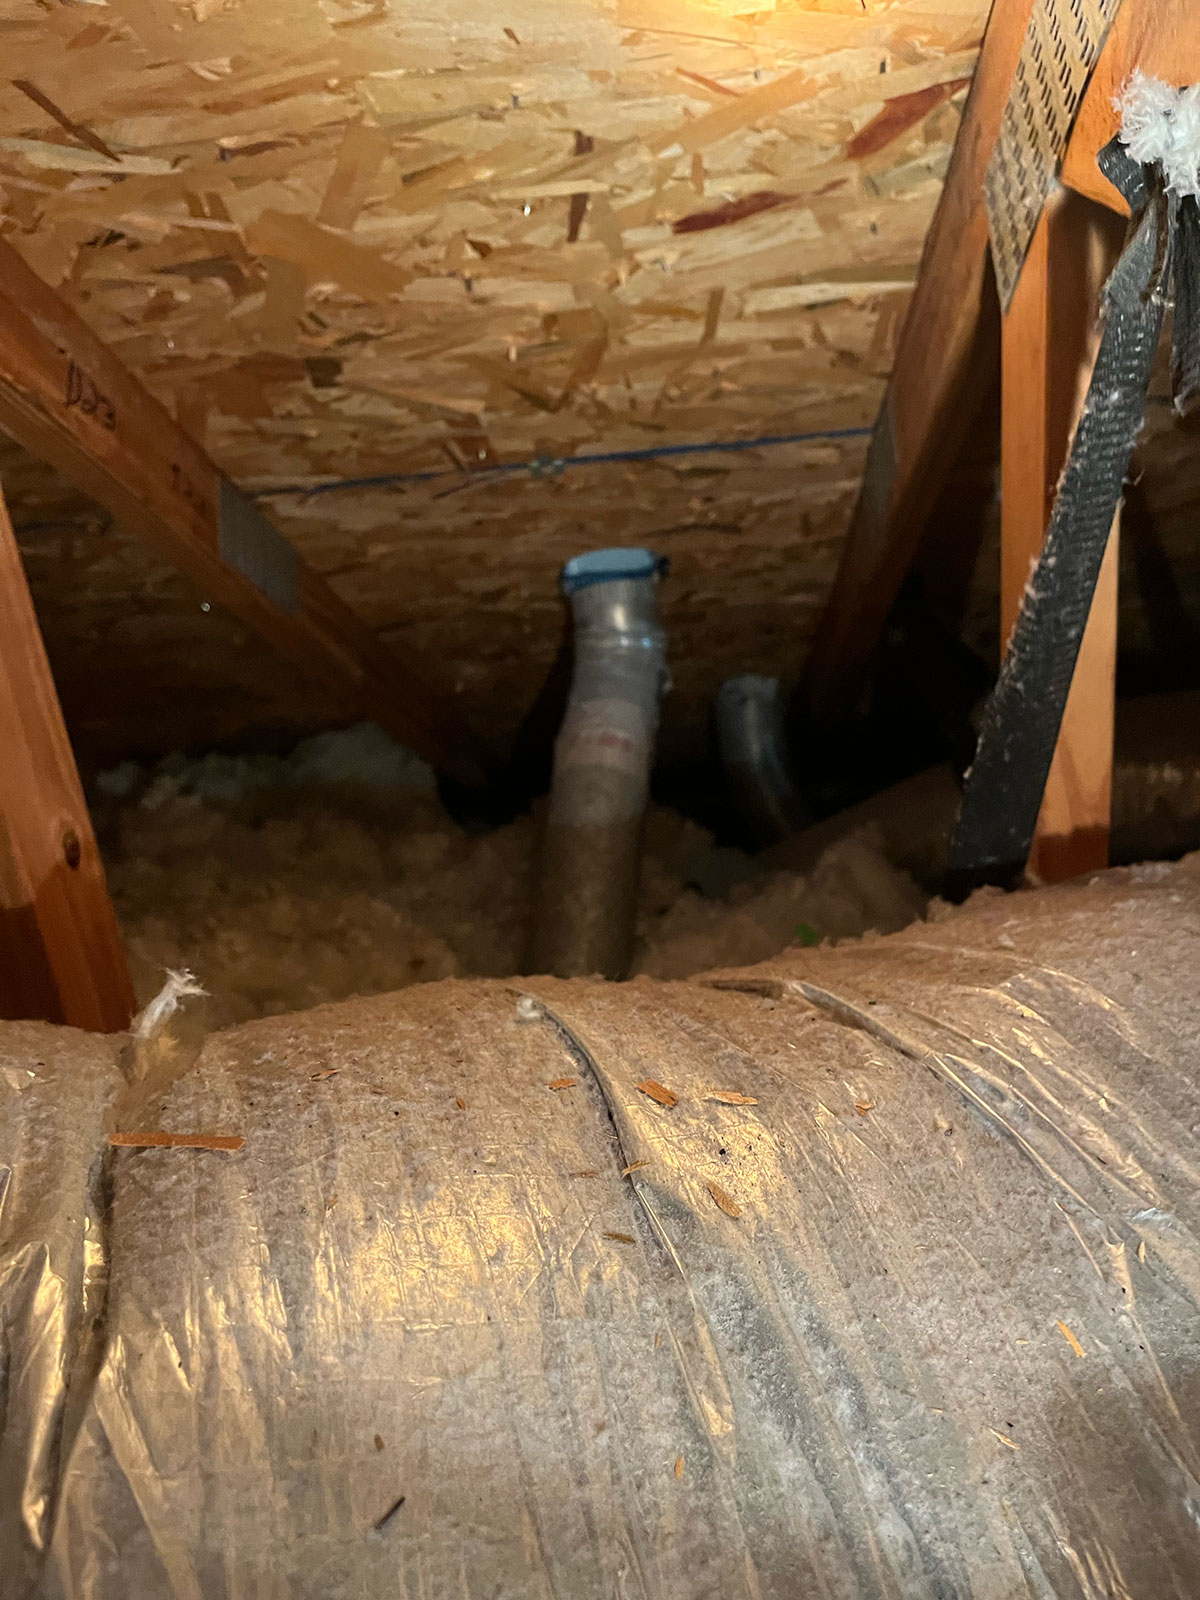
Disconnected and improperly routed dryer vent ductwork needing repair

Why Homes in The Villages Often Need Dryer Vent Rerouting

Many homes in The Villages, Lady Lake, Wildwood, and surrounding Central Florida communities feature centrally located laundry rooms. While convenient, this layout often forces dryer vents to run long, winding paths through attics, crawlspaces, or up to the roof. Over time, these lengthy duct runs trap heavy lint, restrict airflow, and force your dryer to work twice as hard while creating a serious fire hazard. Our dryer vent rerouting services focus on creating the shortest, straightest, and safest path possible to the outside of your home.

Custom Solutions for Every Home

Each repair or reroute is unique. We inspect the layout, access points, materials, and termination type to design a solution that meets safety standards and improves airflow.

Your repair may include:
  • Replacing or shortening duct runs to create direct, high-airflow pathways
  • Upgrading unsafe plastic or foil ducting to rigid metal 4 inch dryer vent piping
  • Installing durable, pest-resistant dryer vent covers and exterior dryer vent hoods equipped with backdraft dampers
  • Sealing all air gaps, leaks, and duct joints with heavy-duty foil tape
  • Rerouting dangerous vent paths, such as ductwork terminating in garages, attics, or crawlspaces, directly to the outside
Professional 4 inch rigid metal dryer vent rerouting setup

Why Choose Us

  • Background in appliance and vent system repair
  • We understand airflow and system design
  • High-quality, code-compliant materials
  • Professional results with long-term performance in mind
  • Honest recommendations with no unnecessary work
Lint Dragon Dryer Vent Cleaning Van

Frequently Asked Questions About Dryer Vent Rerouting

You should call a specialized dryer vent professional rather than a general handyman. A specialized technician understands airflow dynamics, appliance manufacturer specifications, and local Florida building codes. Lint Dragon inspects your layout, installs code-compliant 4 inch dryer vent rigid piping, seals joints properly, and equips the exterior with protective wall vent installs and heavy-duty dryer vent covers.

Venting a dryer into a garage is a major safety code violation because it fills enclosed spaces with lint, excessive moisture, and dangerous exhaust fumes. To reroute it properly, we design the shortest direct path through an exterior wall, cut a precise wall opening, run continuous rigid metal piping, and install a weather-tight exterior dryer vent hood with a backdraft flap to keep pests and moisture out.

Rerouting a dryer vent involves five key steps:

  1. Inspection: Assessing airflow and mapping the shortest, straightest route to the outside.
  2. Removal: Disconnecting and removing unsafe, crushed, or improperly routed ductwork.
  3. Penetration: Creating a precise exterior wall or roof access point if needed.
  4. Installation: Running rigid metal 4 inch dryer vent ducting and sealing connections with foil tape (never screws, which snag lint).
  5. Termination: Mounting a high-efficiency exterior dryer vent cover or hood to seal the exterior against weather and pests.

Don’t Let A Hidden Problem Reduce Your Dryer’s Performance Or Put Your Home At Risk

Let us inspect your setup and recommend the right repair or reroute.

Call (352) 638-0630